
First you need to purchase this wire wreath form.

Next you need a bag of soil. I like the blue bag of miracle grow soil as it keeps the moisture in longer.

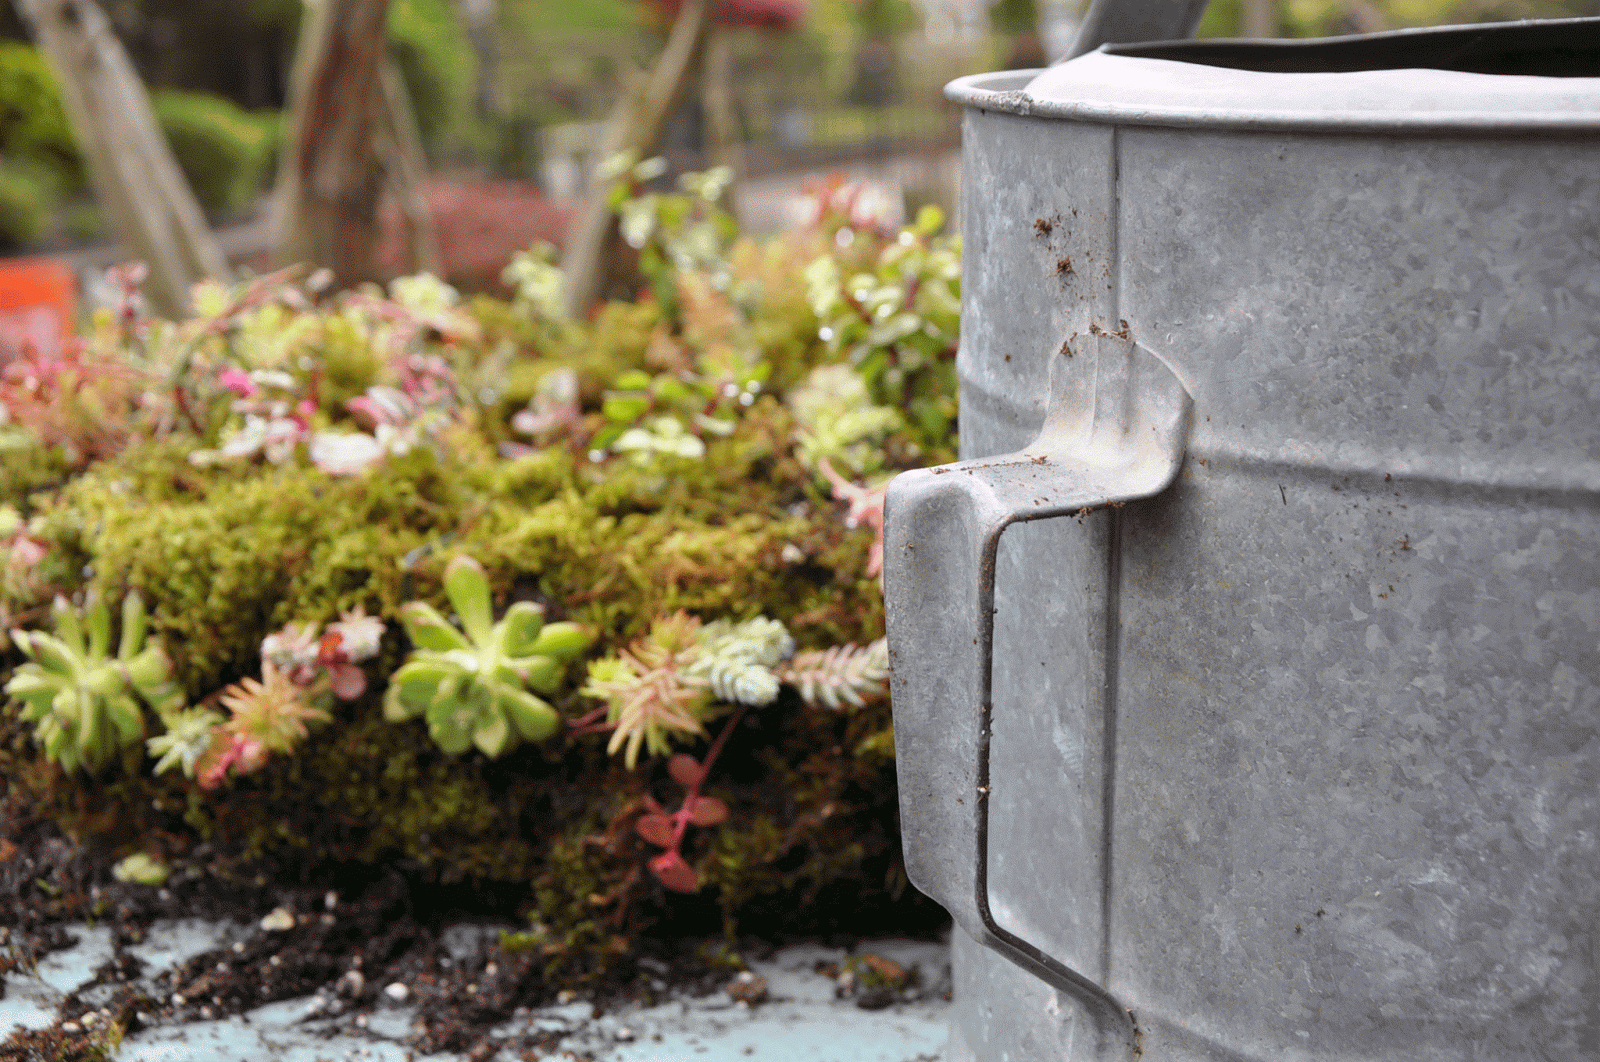
You will need about six bags of Moss Sheets ( I found these in Lowe's 3.89 per bag).

You will need a watering can or hose to moisten the moss and dirt in the wreath frame.

You should purchase a variety of succulent plants along with some flowering plants such as portulaca's which love dryness and the sun originally from Portugal.

A bucket of water to soak the moss sheets. The reason for this step is to make the sheets pliable when arranging the sheets in the wreath form.

I then take my sheets of moss out one at a time and line the wreath cage with the moss. You want to make sure that the entire case is lined and that there are no gaps. Since you have soaked you moss it is very easy to tear a piece to fit into a specific spot.

Next you are going to fill the wreath with the soil that you purchased. Making sure you fill up to the top and water and push the soil gently down adding more soil and water until the wreath is filled to the top.

Following this you are going to add the remainder of the moss sheet to the top and apply the back of the wreath frame with small black zip ties. With a pair of snips or scissors you can cut the excess straps down to the tie.

Now turn your wreath over as what you are seeing above is the back of the wreath. You are now ready to plant. Do not worry if you can see some of the frame, as the plantings grow they will cover any wire showing.

Now you can begin to dig a hole in your wreath and plant ! The more the better so get creative in your placement of flowers. Remember it will be hanging so make sure you plant along the sides and underneath the wreath.

Continue planting and turning the wreath around, making sure that your wreath is somewhat symmetrical in design. I am planting the porchulaca's towards the bottom of the wreath so that they will hang which will create another element of design.

Do not worry if some dirt is showing once you give your wreath another good soaking of water you can rearrange the moss to cover the dirt.

You are going to give it one good soaking with water and keep it in this position for a least two weeks allowing for the root system to grow into its new environment. Keep moist during that time that you are allowing the plants to get established.

After two weeks you can hang it on a gate, on a wall, the side of our home, where ever you would like. Make sure you continue to water daily for the first month. After that, you can water 3 times a week. At the end of the season you can bring it into the basement if you have one water just once a month. If you don't have a basement the moss and dirt is good for another year, just moisten and replant.
I hope you will try this....Is messy and fun, no gloves required...just get your hands dirty!!
Happy Planting from Harmonizing Homes
Corinne
Don't forget to check out our portfolio for some great design ideas.